Cat AP655F Paver Screen Systems: Built for Precision and Uptime
When you’re behind the controls of a Caterpillar AP655F asphalt paver, the screen system is your primary interface for material flow and mat quality. This article dives into the AP655F’s screed options—including the SE50 V and SE60 V models—covering setup, common wear points, and practical adjustments that keep your crew productive and your spec tight. Whether you’re troubleshooting a tearing mat or fine-tuning for a highway shoulder, this review gives you actionable details on the machinery that matters.
What Screen Options Come Standard on the Caterpillar AP655F?
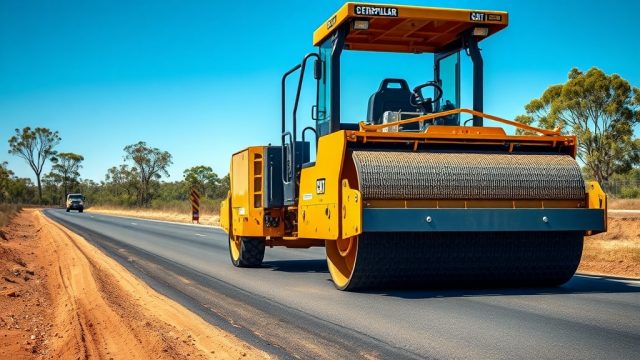
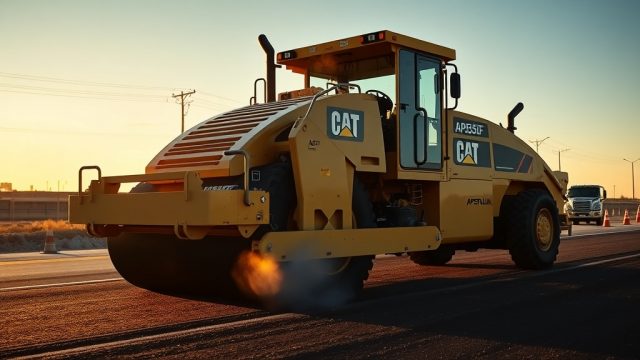
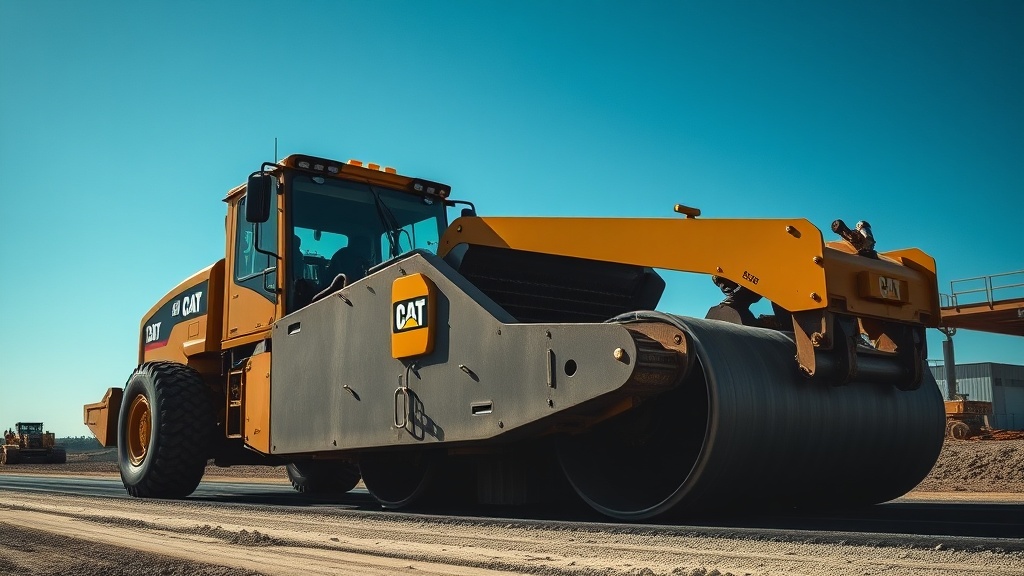
The Caterpillar AP655F is typically paired with either the SE50 V (10 ft / 3.05 m) or the SE60 V (10 ft / 6.1 m) vibratory screed. Both are hydraulically extendable, up to 18 ft (SE50 V) or 20 ft (SE60 V) with bolt-on extensions. The standard screed features dual tampers and vibration frequencies adjustable from 0–3,000 vibrations per minute (vpm) for the tampers and 0–3,500 vpm for the main vibrators. The screed plates are 1.5 in. (38 mm) thick AR400 steel, offering good durability for daily paving in base, binder, and some surface courses. Caterpillar’s S‑Series screeds integrate with the paver’s machine control system, allowing precise adjustments via the rear panel or optional remote. For contractors needing a broader paving width, the AP655F can accommodate extended screed packages up to 30 ft with optional kits—though those require additional transport considerations.
How Do You Maintain and Troubleshoot the AP655F’s Screed Heating System?
The AP655F’s screed heating system uses an on‑board propane-fired heat exchanger with temperature control via a thermocouple and a proportional valve. The standard setup heats the main screed plate to a user-set target (typically between 230°F and 290°F / 110°C to 143°C) within 15 to 25 minutes, depending on ambient conditions. A common maintenance issue is clogged burner nozzles from dirty propane—contractors should replace the fuel filter every 200 hours and blow out the burner assembly weekly if running frequently. If the screed plate isn’t reaching temperature, the most likely culprits are a faulty thermocouple (resistance check: 110–140 ohms at 77°F / 25°C) or a stuck regulator that’s not delivering full pressure (target 0.5 to 2.0 psi at burner). The system includes a manual override for the valve, letting operators isolate sections of the screed if a zone fails. For best results, keep the underside of the screed plate free of buildup—residual bitumen insulates the heat and causes uneven mat temperatures.
| Severity Level | Indicator Symptoms | Recommended Action |
|---|---|---|
| Usually Not Urgent | Slow warm-up (30+ minutes but still reaches target); minor temperature variation across the plate (±20°F / 11°C) | Schedule a burner nozzle cleaning and check the thermocouple connection at the next planned downtime. Verify fuel pressure is within spec. |
| Needs Attention Soon | Screed plate fails to exceed 150°F (66°C) after 20 minutes; one side of the plate cold; or system repeatedly trips the high-temperature limit | Immediately inspect the burner assembly for blockage, test the thermocouple with a multimeter, and flush the propane system. Do not run a cold screed on mix—risk of mat tearing and excessive wear on the plate. |
How Does the AP655F Screed Handle Crown and Slope Adjustments?
The AP655F offers dual-crown control with independent left and right screed slope adjustments. The standard mechanical crown can be set from -2% to 5% (cross slope), and the hydraulic power‑adjust option lets operators change the crown on the fly from the operator station or with optional remote. The screw‑jack system under the main screed frame has a 6‑inch (150 mm) range, with positive stops at each end. To set a crown for a road with a 2% cross slope, you’d start by leveling the main screed to the reference using the lower control arms, then adjust the crown knob exactly one turn per 0.1% change (calibrated). A common practice among experienced operators is to set the crown slightly higher (0.1–0.2%) when starting a fresh mat to offset the weight of the material compacting, then back it off after the first truckload. The system works well with stringline sensors or a sonic‑tracker—both attach to the screed‑mounted brackets without requiring any modification to the crown hardware. For variable‑width paving, the hydraulic extensions maintain the set crown angle automatically, though contractors should check the extension plates for parallelism after every 100 hours of operation.
What Are the Key Specs and Tolerances of the AP655F Extensions and Skids?
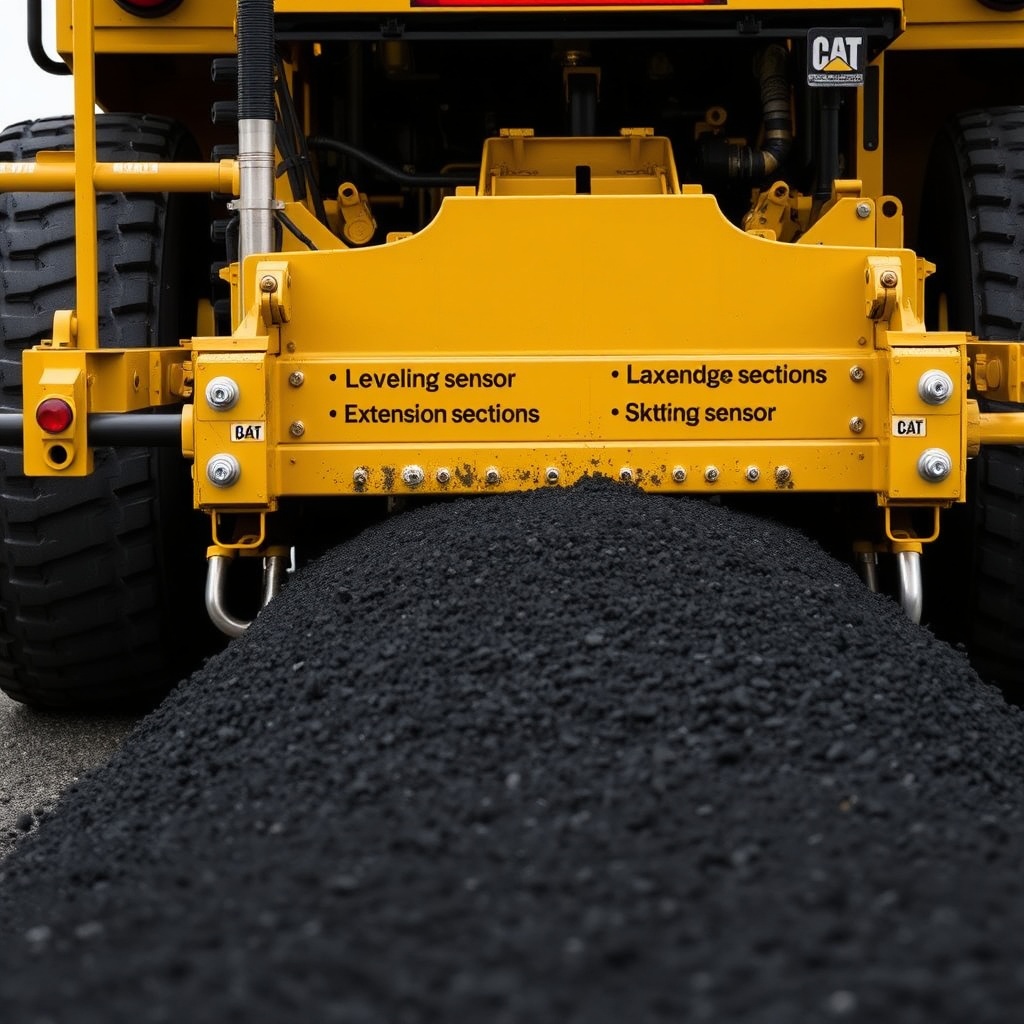
The AP655F’s bolt‑on extension kits come in 12‑inch (305 mm), 24‑inch (610 mm), and 36‑inch (915 mm) widths, attaching with eight Grade‑8 bolts per side. Maximum extension width on the SE60 V with a full kit reaches 20 ft (6.1 m) base plus 5 ft per side—30 ft (9.1 m) total. The extension plates are 1.25‑inch (32 mm) thick AR400 steel, slightly thinner than the base plate to reduce weight. Running tolerance for plate flatness is ±0.030 inches (0.76 mm) across any 24‑inch span. Skid shoe wear is a regular maintenance item: standard skids are 1‑inch (25 mm) thick nylon‑grade pads, rated for about 1,000 lane‑miles (1,600 km) on moderate‑abrasion mixes. Replace them when the pad thickness drops to 0.25 inches (6 mm) or less. For heavy‑duty work (e.g., mill‑and‑fill with high aggregate angularity), upgrade to steel‑reinforced skids—they last 40% longer but cost about $250 per skid. Always use the Cat‑spec fasteners (M10 x 1.5, class 10.9) to avoid galling in the threaded holes.
How Do Material Flow and Auger Adjustments Affect Mat Quality on the AP655F?
The AP655F’s auger assembly is a dual‑axle, variable‑speed system controlled by the paver’s material demand system (MDS). The auger speed automatically adjusts between 0 and 40 rpm based on height sensors sensing the mix level in front of the screed. For a typical 3‑inch (75 mm) lift of 9.5 mm mix, the target mix level is 50–70% of the auger chamber height—too low leads to a starved mat with tearing; too high causes end‑grain segregation and a washboard surface. Operators can manually override the MDS via a dial on the left‑hand console, but the factory tuning is generally reliable. The auger tunnel depth is adjustable by 1–3 inches (25–75 mm) using shims on the bottom of the auger box. A shallower tunnel (1 inch) works well for thin lifts up to 2 inches; deeper settings (3 inches) improve flow for thick base courses. The tunnel rear lip wears over time—inspect quarterly for a gap more than 0.25 inches (6 mm) from the screed plate, which causes mix leakage and uneven pressure. Replacement lip kits cost roughly $80 and take an hour to install.

What Do Owners Say About the AP655F’s Screen Systems?
Operators on job sites generally praise the AP655F for its consistent mat density once the screed is set properly, especially on new road construction with binder courses. One common observation from a paving foreman in the Midwest: “We did a 12‑hour shift on I‑80 with a 14‑foot spread. The SE60 V held crown better than our old Volvo—we only had to adjust once after the first truck.” Another owner‑operator in Florida noted that the heating system can be finicky: “After two years, the thermocouple started drifting. We swapped it for $90 and it’s been fine. But you need to watch the burners; if they get soot, the whole screed cools unevenly.” A third comment, from a contractor in Texas, focused on skid wear: “We run a lot of SMA—the nylon skids wear out in about 700 miles. I order steel skids for those jobs now, no complaints.” Overall, owners appreciate the simplicity of the manual adjustments but agree that the optional power‑crown upgrade is a worthwhile investment when cross slopes vary frequently.
Frequently Asked Questions
How often should the AP655F screed plate be replaced?
The base screed plate typically lasts 4,000–6,000 lane‑miles (6,500–9,700 km) on standard mixes, depending on aggregate hardness. Replace when warpage exceeds 0.050 inches (1.27 mm) across the plate or when thickness drops to 1.0 in (25 mm).
What is the proper torque for the extension bolts on the AP655F?
Cat specifies 120 ft‑lb (163 Nm) for the Grade‑8 fasteners used on extension kits. Apply a light coat of anti‑seize and follow a four‑stage tightening pattern (cross‑torque). Re‑check after 10 hours of operation.
Can the AP655F screed be retrofitted with a dual‑tamper upgrade?
Yes. The SE50 V and SE60 V come standard with dual tampers. However, if you have an earlier screed (e.g., SE40), a field‑installed dual‑tamper kit is available for around $3,800, including new tamper bars and vibrator mount.
How do I calibrate the screed height sensors on the AP655F?
Set the paver on a level, clean surface. Enter the calibration menu on the interface, drive the screed to its mid‑range, and follow the on‑screen prompts. Zero the sensors against a known‑thickness block (e.g., 6 inches / 152 mm) to match the physical height to the display reading.
What is the maximum paving width the AP655F can achieve with extended screeds?
With the SE60 V base and full extension packages, the maximum width is 30 ft (9.1 m). For wider than 30 ft, you’ll need a larger paver—the AP655F is limited by the hydraulic flow of the extension cylinders.
Does the AP655F screed system support multi‑width paving without stopping?
Yes. The hydraulic extensions can be adjusted while in motion using the optional remote control, but you must slow down to under 3 mph (5 km/h) to avoid tearing the mat at the extension joints. The crown angle is maintained automatically.