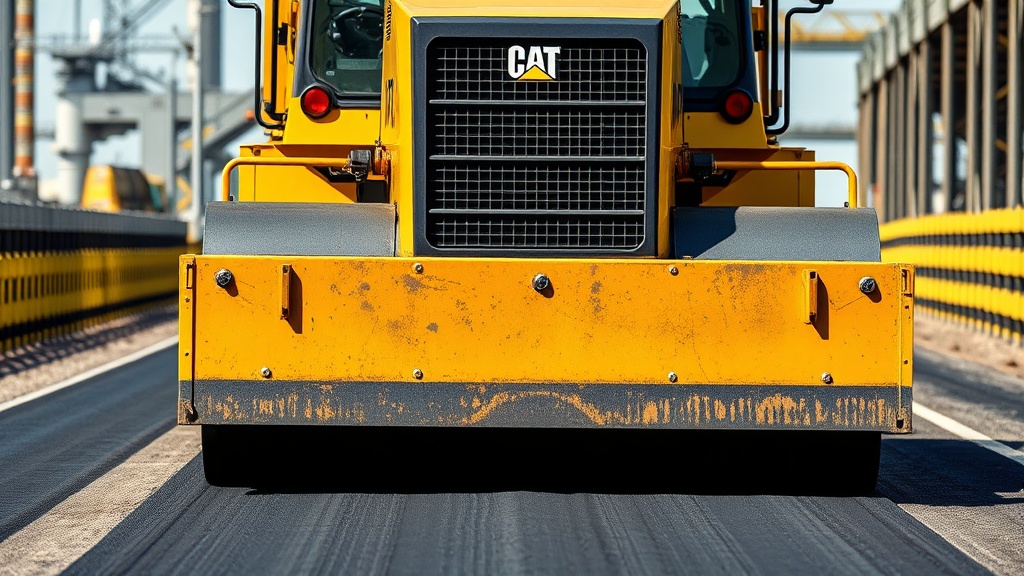
Introduction to the Caterpillar AP655F Screed Plate Replacement Procedure
The Caterpillar AP655F asphalt paver is a workhorse on road construction and resurfacing projects across the UK, valued for its consistent mat quality and robust screed assembly. However, even the most durable components, such as the screed plates, eventually wear down due to constant friction with hot mix asphalt and aggregate. This troubleshooting guide focuses on a specific, high-priority maintenance task: replacing the screed plates on the AP655F. Proper replacement is critical to avoid poor mat texture, screed chatter, and uneven material flow, which can lead to costly rework. Whether you are a site foreman or a paving technician, this article provides step-by-step guidance and answers common questions to get the job done efficiently, keeping your paver producing a smooth, consistent mat.
What Are the Signs That My AP655F Screed Plates Need Replacing?
The first step in troubleshooting is recognising when the screed plates have reached the end of their service life. Worn plates directly affect mat quality and paver performance. Key indicators include:
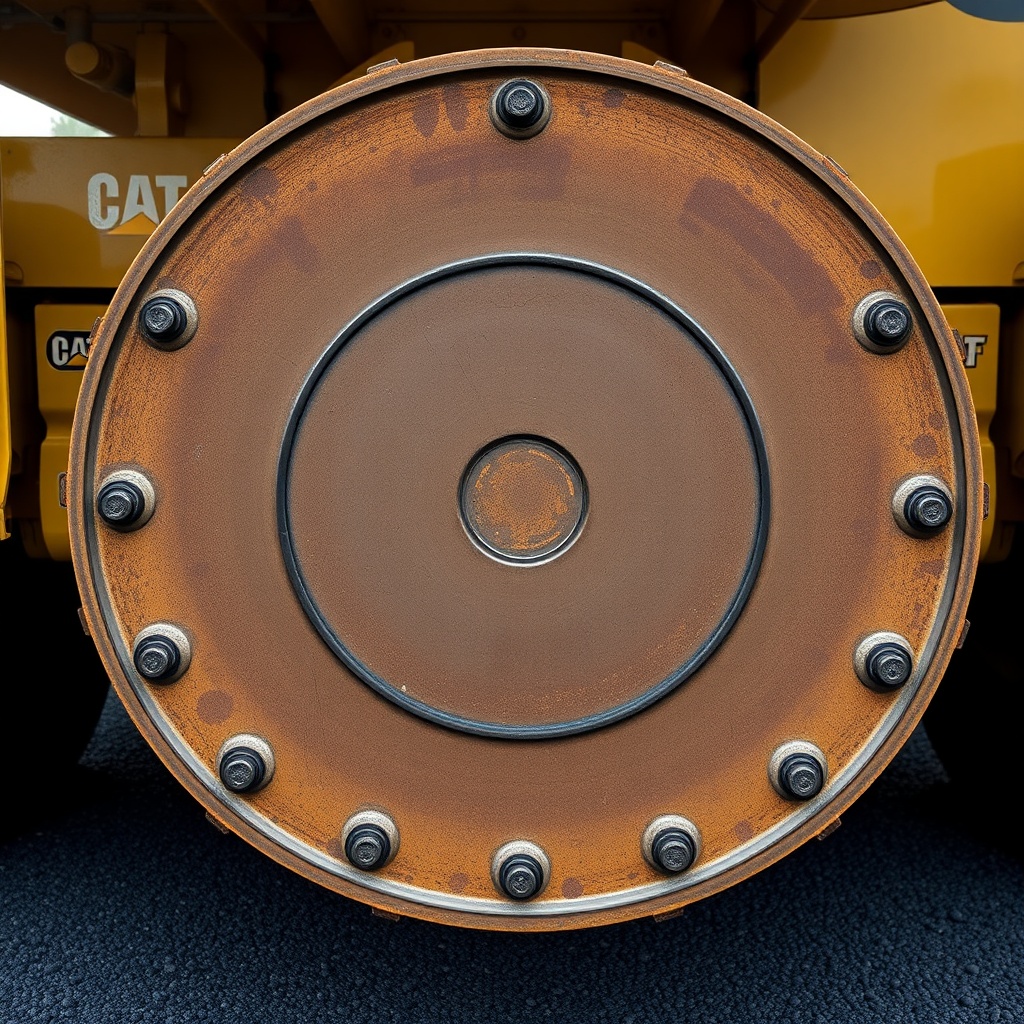
- **Visible wear patterns**: Inspection reveals grooves, scalloped edges, or a significant reduction in plate thickness. Measure the material thickness; when it falls below the manufacturer’s minimum—typically 6 mm for the AP655F—replacement is overdue.
- **Poor mat finish**: The laid asphalt exhibits a rough, non-uniform surface, often with transverse cracks or tearing. This indicates uneven contact between the plate and the mat.
- **Increased screed chatter**: The screed vibrates or bounces during operation, leaving a washboard-like pattern. This is a classic symptom of worn plates causing inconsistent drag.
- **Material build-up**: Sticky mix adheres to the worn plate surface, requiring more frequent cleaning and reducing compaction efficiency.
If you notice any of these signs, inspect the plates immediately. For deeper insights into screed performance issues, see our guide on Caterpillar AP655F Screed Heating System Troubleshooting Guide.
What Tools and Materials Do I Need for the Replacement?
Before beginning, gather the correct tools and genuine Caterpillar parts to avoid delays. Using aftermarket plates can compromise fit and surface finish. The table below lists the essential items and estimated costs for a typical UK site.
| Item | Specification | Estimated Cost (GBP) |
|---|---|---|
| Caterpillar screed plate kit (pair) | Genuine CAT part no. 525-7840 (left) & 525-7841 (right) | £1,200–£1,500 |
| Torque wrench | 150–300 Nm range, calibrated | £180–£250 |
| Hex key set (metric) | 8 mm, 10 mm, 12 mm sizes | £40–£60 |
| Impact driver (pneumatic or cordless) | Minimum 600 Nm torque | £150–£300 |
| Cleaning solvent (degreaser) | Petroleum-based, safe for steel | £25–£50 per 5 litres |
| Anti-seize compound | High-temperature nickel-based | £20–£35 |
Also ensure you have a sturdy jack or hoist to support the screed extension, and personal protective equipment (PPE) including gloves and safety glasses. Always refer to the machine’s service manual for exact torque specifications; the AP655F typically requires 180 Nm for plate bolts.
How Do I Safely Remove the Old Screed Plates?
Removal must be methodical to prevent damage to the screed frame or heating elements. Follow this step-by-step process:
- Prepare the machine: Park the paver on level ground, engage the parking brake, and shut off the engine. Allow the screed to cool completely to avoid burns.
- Access the plates: Raise the screed using the control panel to provide working clearance. Use jack stands as a safety backup.
- Clean the area: Use solvent to remove any asphalt residue and debris from around the plate bolts. Dried mix can seize fasteners.
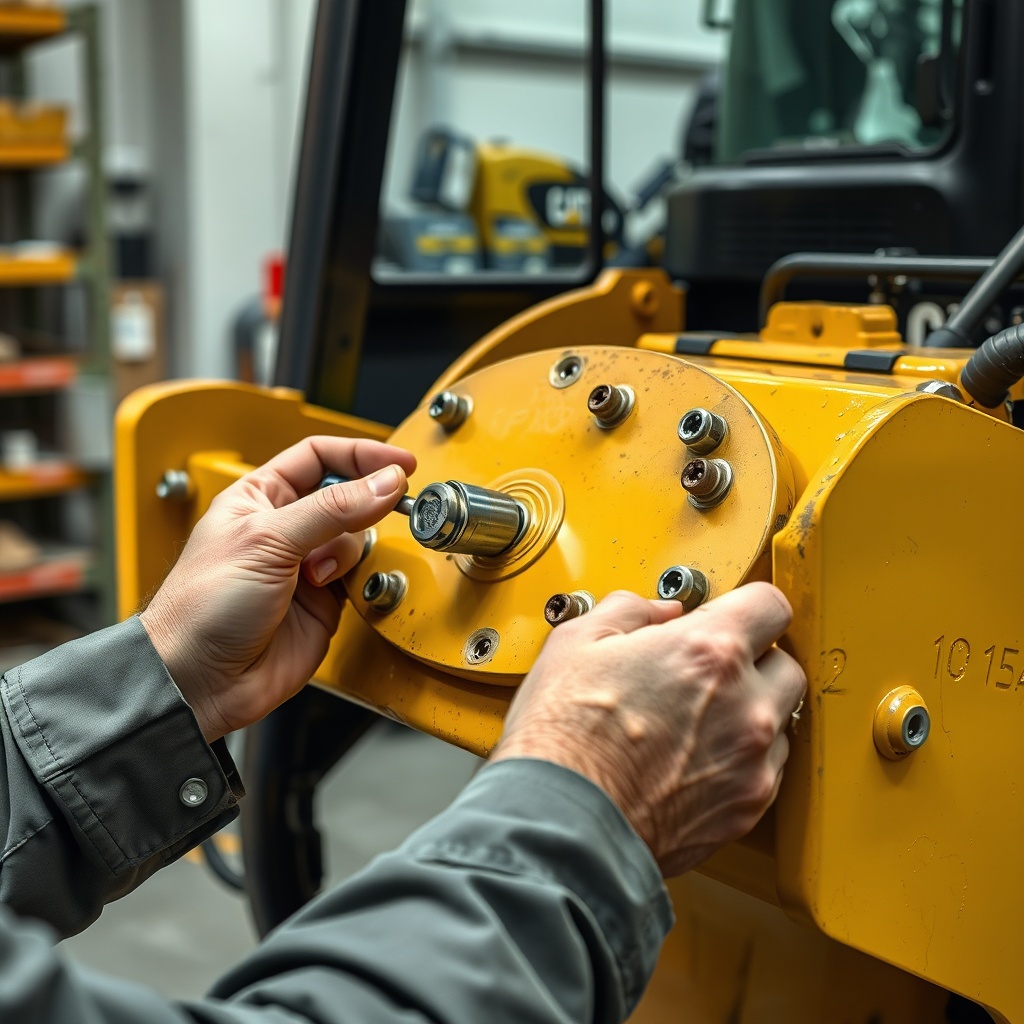
- Remove the bolts: Starting from the outer edge, use an impact driver with a hex key to loosen all M12 bolts. Count and store them separately, as thread lengths vary.
- Detach the plate: Gently tap the plate with a rubber mallet to break the bond. The plate should slide forward off its tapered locating pins. Do not pry against the screed frame.
- Clean the mounting surface: Scrape off any old gasket material or corrosion. A wire brush attachment on a drill works well.
If bolts are seized, apply penetrating oil and wait 15 minutes. Never heat the screw heads directly, as this can warp the aluminium screed frame. For additional heating system considerations, review our Caterpillar AP655F Paver Screen Systems: A Detailed Review.
What Is the Correct Procedure for Installing New Screed Plates?
Installation requires precision to ensure even wear and optimal mat quality. Incorrect alignment will cause premature failure.
Step 1: Check new plates. Verify the part numbers match and the plate surfaces are flat. Lay them on a level surface; the edges should not rock.
Step 2: Apply anti-seize. Coat the bolt holes and threads of the new plate. This prevents galvanic corrosion between the steel bolts and aluminium frame.
Step 3: Position the plate. Slide the new plate onto the tapered locating pins. Ensure it sits flush against the screed frame with no gaps.
Step 4: Tighten bolts evenly. Insert all bolts finger-tight, then torque them in a cross-tightening sequence (centre first, then outward) to 180 Nm. Over-torquing can strip the aluminium threads.
Step 5: Check clearance. Verify there is a uniform 1–2 mm gap between the rear of the plate and the screed frame to allow for thermal expansion.
What Are Common Mistakes During Screed Plate Replacement?
Even experienced technicians can make errors. Avoid these common pitfalls to extend the life of your new plates:
- **Mixing left and right plates**: The AP655F uses handed plates with specific bolt patterns. Installing them reversed will misalign the material flow.
- **Using incorrect torque settings**: Under-tightening allows movement and vibration; over-tightening distorts the plate. Always use a calibrated torque wrench.
- **Ignoring frame condition**: If the screed frame is bent or has worn locating pins, new plates will not align. Check for cracks or deformation before installation.
- **Skipping the heat-up cycle**: After installation, run the screed heat-up cycle (as per the Caterpillar AP655F Screed Heating System Troubleshooting Guide) to seat the plate. Failing to do so risks uneven thermal expansion during paving.
- **Using old bolts**: Bolts stretch over time. Always replace with new bolts of the same grade (Class 10.9) to ensure clamp load.
What Do Owners Say About the AP655F Screed Plate Lifespan?
Owner feedback from UK paving contractors provides real-world insight into plate longevity and replacement intervals. The general consensus is that original equipment (OE) Caterpillar plates last between 1,200 and 1,600 paving hours under typical conditions, such as motorway resurfacing with SMA (Stone Mastic Asphalt). One East Midlands contractor reported replacing plates after 1,400 hours, noting that the mat quality declined sharply once the thickness wore below 7 mm. Another operator in Scotland logged 1,800 hours on low-abrasion asphalt, but warned that running used plates beyond 1,500 hours risked damaging the screed frame.
Several owners emphasised that the replacement cost—approximately £1,200 to £1,500 for a pair—is a fraction of the expense caused by a ruined mat. One commenter on a plant forum stated: “I tried a cheap aftermarket set once. They lasted 600 hours and left chatter marks. Never again.” The consensus strongly favours genuine Caterpillar parts for reliability. For a full overview of the paver’s systems, read Caterpillar AP655F Paver Screen Systems: A Detailed Review.
Frequently Asked Questions
1. How often should I inspect the screed plates on my CAT AP655F?
Inspect the plates visually every 100 paving hours, or weekly during continuous operation. Measure thickness with a calliper monthly. Replace when thickness reaches 6 mm or signs of uneven wear appear.
2. Can I replace only one screed plate?
Technically yes, but it is not recommended. Worn plates wear unevenly; a new plate paired with an old one will cause differential drag, leading to camber issues. Always replace both sides as a set.
3. Do I need to reset the screed after plate replacement?
Yes. After installation and heat-up, perform a visual alignment check and, if necessary, recalibrate the screed angle through the paver’s control system to maintain a 3° to 5° attack angle.
4. What is the torque specification for the plate bolts on an AP655F?
The correct torque is 180 Nm (133 lb-ft) for M12 grade 10.9 bolts. Use a cross-tightening pattern and a calibrated torque wrench. Do not re-use old bolts beyond one installation.
5. Will worn screed plates affect my paver’s fuel consumption?
Indirectly, yes. Worn plates increase drag, forcing the paver to work harder to maintain speed. This can raise fuel consumption by 5–10% under heavy load. Replacing plates restores efficiency.
6. Where can I buy genuine Caterpillar screed plates for the AP655F?
Purchase from authorised Caterpillar dealers in the UK, such as Finning, or trusted online retailers specialising in CAT parts. Always verify part numbers (525-7840/525-7841) and request OEM packaging to avoid counterfeits.