
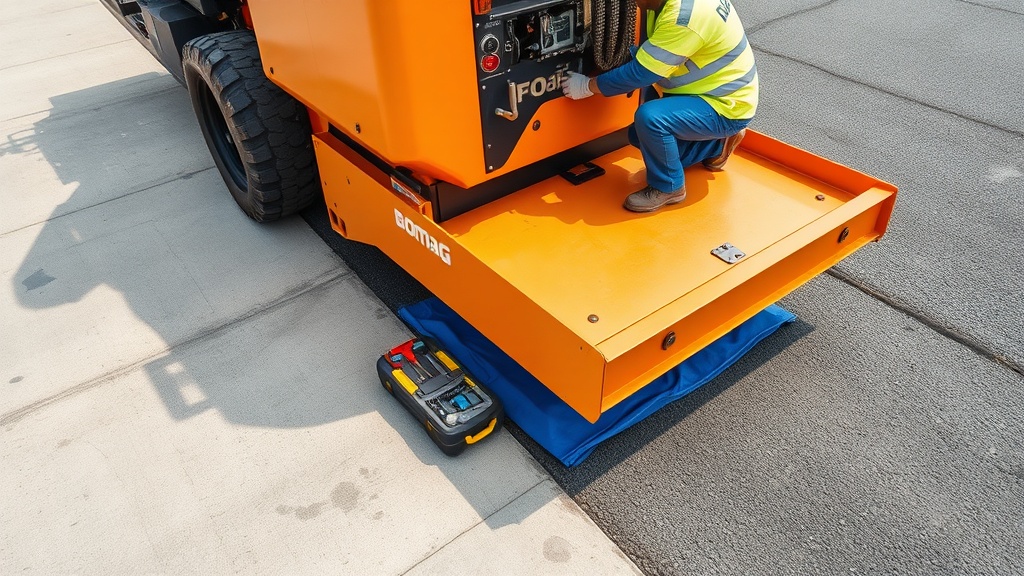
Bomag BF 600 P-2 Screed Plate Replacement Procedure
The screed plate on a Bomag BF 600 P-2 is a high-wear component that directly impacts mat quality and paving consistency. Over time, abrasion from hot mix asphalt and aggregate erodes the plate surface, leading to uneven profiles, poor joint matching, and increased fuel consumption from drag resistance. This article provides a step-by-step procedure for replacing the screed plate, covering inspection intervals, tooling requirements, torque specifications, and common pitfalls to avoid.
How Often Should the Screed Plate Be Inspected?
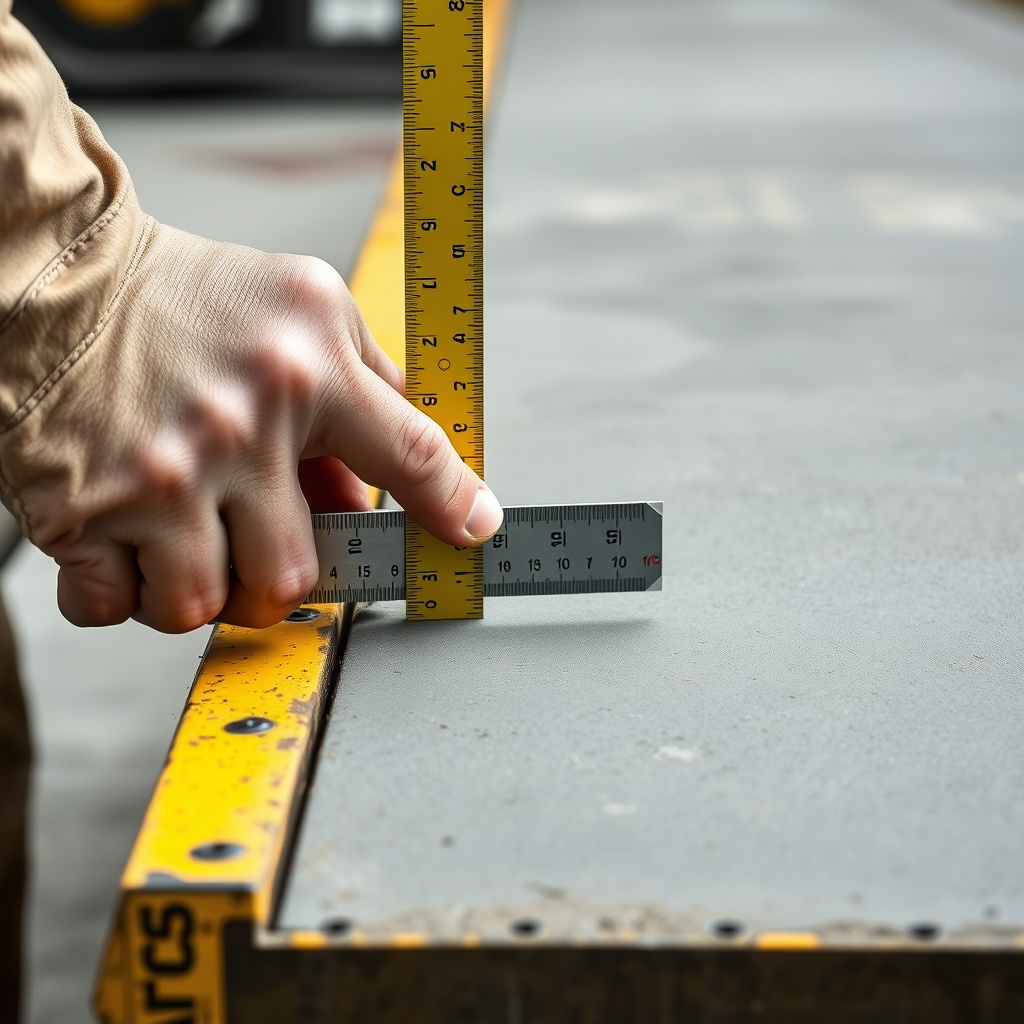
Inspection frequency depends on paving hours and mix types. For a BF 600 P-2 operating on typical dense-graded asphalt, inspect the screed plate every 40 to 50 hours of operation. When using abrasive mixes such as stone mastic asphalt (SMA) or reclaimed asphalt pavement (RAP), reduce the interval to 25 hours. Visual indicators of wear include visible grooving exceeding 2 mm depth, uneven surface texture across the plate width, or a noticeable increase in tractor effort during paving. A simple steel ruler placed across the plate surface can reveal high and low spots. If the plate thickness measured at the thinnest point is less than 60% of original, replacement is necessary. Original plates typically start at 12 mm thickness; at 7 mm, dragging resistance increases and screed control becomes erratic.
What Tools and Parts Are Needed for Replacement?
Gathering the correct components before starting saves significant downtime. The following list includes Bomag factory-recommended tools and genuine parts for a BF 600 P-2 screed plate replacement. Using non-OEM fasteners can lead to bolt fatigue and plate loosening during operation.
| Item | Specification | Bomag Part Number | Estimated Cost (GBP) |
|---|---|---|---|
| Replacement screed plate, left (extendable section) | 12 mm steel, pre-drilled | 059 860 03 | £1,450 |
| Replacement screed plate, right (extendable section) | 12 mm steel, pre-drilled | 059 860 04 | £1,450 |
| Main screed plate, centre | 12 mm steel, pre-drilled | 059 860 05 | £2,100 |
| Hex bolt, M12 x 50 mm, grade 10.9 | Zinc plated | 527 123 50 | £0.85 each (qty 48) |
| Lock washer, M12 | Spring steel | 527 124 12 | £0.30 each (qty 48) |
| Flat washer, M12 | Hardened | 527 125 12 | £0.25 each (qty 48) |
| Torque wrench | 50–200 Nm range | N/A (generic) | £80–£150 |
| Pneumatic impact wrench | 3/4-inch drive, min. 60 ft-lb | N/A (generic) | £200–£400 |
| Wire brush | Stainless steel, 100 mm | N/A (generic) | £5 |
| Anti-seize compound | Copper-based, 200°C rating | N/A (generic) | £12 |
| Pry bar, flat | 600 mm length, 15 mm tip | N/A (generic) | £25 |
For the complete set of three plates (centre and two extensions), total replacement cost including fasteners and anti-seize is approximately £4,100. Budget an additional £50 for disposable gloves, safety glasses, and rags.
What Are the Preparation Steps Before Loosening the Screed Plate?
Preparation directly affects safety and the quality of the final result. Begin by cooling the screed completely if the machine was recently used. Residual heat above 60°C can soften bolt threads and cause galling when loosening. On the Bomag BF 600 P-2, allow at least 90 minutes of idle cooling after a 10-hour paving day. Perform the procedure on a level, clean concrete pad. Chock all wheels and engage the parking brake. Remove the cross-conveyor cover plates to access the screed mounting brackets; these are secured by six M10 bolts per side. Lower the screed onto wooden blocks at least 100 mm high to provide clearance for the plate removal. Disconnect the screed heating system electrical harness to avoid damage when the plate is lifted; this is critical as the Bomag BF 600 P-2 Screed Heating System Troubleshooting Guide notes that broken connectors are a common cause of later heating faults. Finally, apply penetrating oil to all 48 bolt locations and allow 10 minutes for it to work before any wrenching.
How Is the Old Screed Plate Removed?
Removal requires systematic attention to prevent damage to the screed frame. Using the impact wrench with a deep socket, loosen all bolts in a cross-pattern sequence (start at the centre of each plate section and work outward). Do not remove any bolt entirely until all are loosened; this prevents the plate from binding unevenly. Once all bolts are backed out by three full turns, go around again and remove them completely. Place bolts in a labelled container; reuse is not recommended because the threads can be stretched. With all fasteners removed, insert the pry bar between the screed plate and the mounting frame at the leading edge. Gently pry downward—the plate should separate. If it resists, do not force it. Check for seizure at the bolt holes caused by galvanic corrosion between the steel bolt and aluminium frame. Apply penetrating oil and tap the bolt area lightly with a hammer to break the bond. On the BF 600 P-2, the centre plate is often the most stubborn because of accumulated heat cycles. Once loose, slide the plate off the mounting studs and lower it to the ground. Inspect the mounting frame surface for burrs or gouges. Dress any imperfections with a file—an uneven mounting surface will cause the new plate to distort during tightening, leading to early fatigue.
How Is the New Screed Plate Installed and Torqued Correctly?
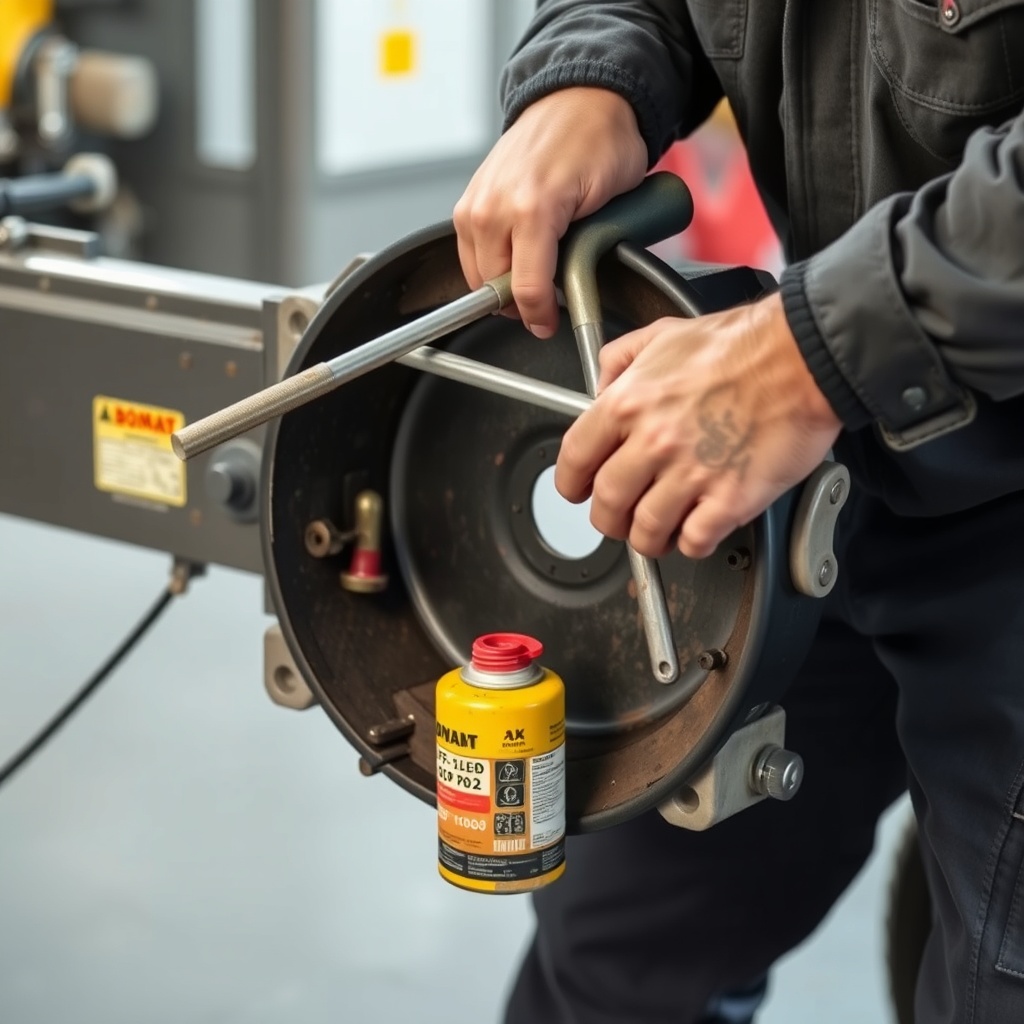
Installation follows the reverse order but with critical torque control. Before positioning the new plate, clean the mounting frame with the wire brush. Apply a thin, even coat of anti-seize compound to the mounting surface and to the threads of all new bolts. Position the new plate in its corresponding location; note that the centre plate has offset bolt holes that align only one way. Left and right extension plates are symmetric but laser-engraved markings on the underside indicate orientation. Start all bolts by hand to ensure correct thread engagement—cross-threading is a frequent cause of loose plates. Using the torque wrench, tighten bolts in a star pattern to the factory specification of 105 Nm (77 ft-lb) for the M12 bolts. Do not exceed 110 Nm, as overtightening can distort the plate and create a crown in the mat. After the initial pass, go around again in the same star pattern and re-torque; the anti-seize compound can cause initial torque reading errors. For the extension plates, torque the bolts holding the sliding mechanism to 80 Nm—these are smaller M10 bolts. Verify plate flatness with a straightedge; acceptable deviation is 0.5 mm across the full 3-metre width. If deviation exceeds this, loosen all bolts, reposition, and retorque. The Bomag BF 600 P-2 Screed System Performance Enhancement Tips article highlights that correct plate torque is the single most influential factor in achieving consistent mat density from start to finish.
What Post-Installation Checks Are Essential?
After installation, perform a series of functional tests before returning to production. First, cycle the extension plates from fully retracted to fully extended three times. Listen for grinding or binding noises. If the plate drags on the mounting brackets, the extension travel could be impeded, causing poor joint matching. Next, reconnect the heating system harness and test the electric heaters on all zones for 5 minutes. Reference the Bomag BF 600 P-2 Screed Electrical System Troubleshooting Guide if any zone fails to reach temperature within 2 minutes. Check that the screed plate heats evenly; cold spots on a new plate indicate poor contact with the heating elements, requiring removal and inspection of the thermal interface. Finally, perform a short test pave on a clean surface—50 metres at 3 m/min. Inspect the leading edge of the mat for tears or irregular texture. Run a density gauge at three points across the mat; readings should be within 2% of each other. If one edge is consistently denser, the plate may be slightly tilted. This can be corrected by shimming the rear mounting points with thin steel shims (0.5 mm increments). The Bomag BF 600 P-2 Screed Wear Parts Replacement Guide offers detailed shimming procedures for uneven wear patterns.
What Owners Say About the Bomag BF 600 P-2 Screed Plate Replacement
Operators and fleet managers frequently comment on the straightforward design of the BF 600 P-2 screed plate system. Many note that the pre-drilled holes align perfectly with original equipment studs, reducing fitment time by approximately 30% compared to aftermarket plates. One UK-based contractor reported completing a full plate swap in 4.5 hours with two mechanics—considerably faster than the 8-hour estimate for competing machines. A recurring positive point is the availability of genuine parts through local Bomag distributors, with typical lead times of 3 to 5 working days in the UK. However, some owners caution about the torque sensitivity; several have experienced plate warping after using a high-torque impact wrench without a final torque wrench check. A common maintenance tip shared among experienced owners is to mark each bolt with a paint dot after torquing—this visual indicator helps during daily walkarounds to quickly spot loosening. The Bomag BF 600 P-2 Hydraulic System Maintenance article complements this work by addressing how hydraulic pressure settings affect screed loading and, indirectly, plate wear rate.
Frequently Asked Questions
1. Can I replace only the centre screed plate without removing the extensions?
Yes. The centre plate is independently bolted. However, if the extension plates show commensurate wear, consider a full set replacement to maintain even mat quality. Partial replacement often leads to a step in the mat at the joint.
2. What is the torque specification for the M10 bolts on the extension slide mechanism?
Bomag specifies 80 Nm (59 ft-lb) for these bolts. Using M12 torque of 105 Nm on the M10 bolts could strip the aluminium threads in the slide rail—a costly repair covered in the Screed Wear Parts Replacement Guide.
3. How do I know if the screed plate is warped after installation?
Place a 3-metre straightedge across the plate width at three points: left, centre, and right. Maximum deviation should be 0.5 mm. Warpage is visible as a hump or dip that lifts the straightedge by more than 1 mm. Remove the plate and inspect the mounting frame for debris or previous welding distortion.
4. Is it necessary to use Bomag-branded screed plates, or are aftermarket alternatives acceptable?
While aftermarket plates may cost 20–40% less, they often have different hardness profiles (typically 400 Brinell vs. 450 Brinell for Bomag genuine). This can lead to faster wear and inconsistent mat density. If budget is a concern, verify that the aftermarket plate is certified to at least 440 Brinell and matches the original 12 mm thickness exactly.
5. Why does my new screed plate overheat in the centre zone despite all heaters working?
This is usually caused by poor thermal contact between the heating element and the plate. The air gap introduces a hot spot because the element can’t transfer energy evenly. Remove the plate, apply thermal paste (Parker Chomerics or equivalent) between the element and the plate, and re-torque. Ensure the Engine System Maintenance Guide also confirms proper generator voltage, as undervoltage can cause heater cycling spikes.
6. How many hours can I expect from a set of Bomag BF 600 P-2 screed plates?
Under typical UK paving conditions with dense-graded asphalt, expect 800 to 1,200 hours before replacement. SMA or high-RAP mixes reduce lifespan to 500–700 hours. Regular inspection every 40 hours and early detection of groove depths exceeding 2 mm will prevent damage to the screed frame and extend component life.