
Introduction
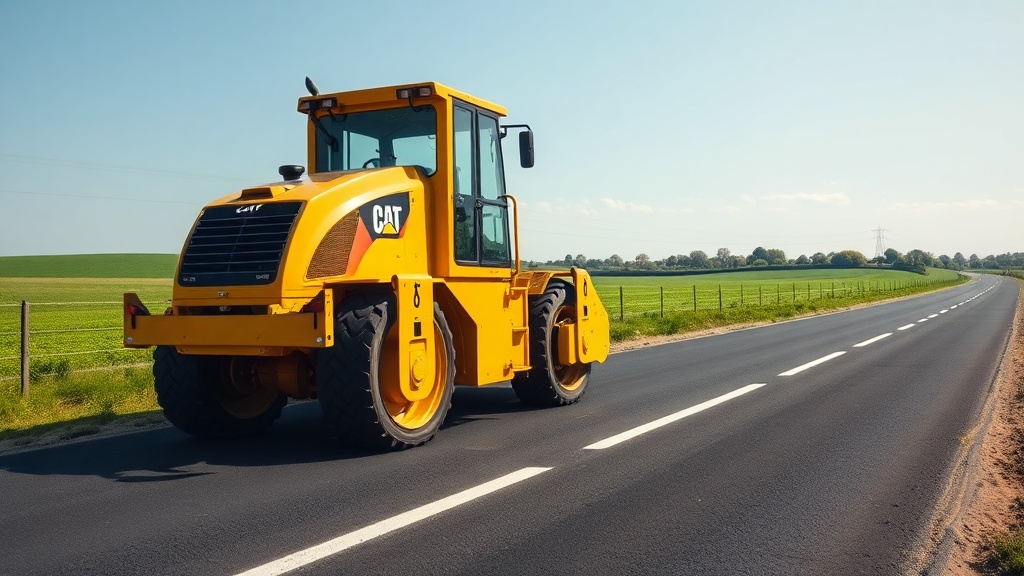
The Caterpillar AP555F asphalt paver stands as a workhorse in mid-sized paving operations across the UK, delivering consistent mat quality and profitability when properly maintained. This daily maintenance checklist focuses on proactive care, helping operators and fleet managers in England avoid costly downtime and extend machine life. By following these structured procedures, paving contractors can keep the AP555F performing at its peak every working day.
Why Is Daily Hydraulic System Inspection Critical for the AP555F?
The hydraulic system powers the AP555F’s conveyors, augers, and screed functions, making it the lifeblood of paving operations. A daily check of hydraulic fluid levels using the sight glass on the reservoir is essential; the level should sit between the low and high marks when the machine is cold and on level ground. Operators in England should inspect hoses and fittings for leaks, particularly around the pump and cylinder connections, as small drips can escalate into major failures mid-pour. Pay attention to the hydraulic oil temperature gauge during warm-up — if it climbs above 82°C without heavy use, there may be a cooling system issue. For deeper troubleshooting of screed-specific hydraulic components, refer to the Caterpillar AP555F Paver Screed Heating System Troubleshooting Guide, which covers common pressure and flow irregularities.
How Should the Conveyor and Auger System Be Maintained Daily?
The conveyor and auger system directly affects material delivery and mat uniformity. Before starting the engine, inspect the conveyor chains for proper tension — a sag of 25-38 mm in the middle of the lower chain run is typical. Check the auger assembly for material buildup, especially in wet weather common to UK paving seasons, as hardened asphalt can cause vibration and wear. Lubricate the auger bearing grease fittings with two pumps of NLGI #2 grease daily, and verify that the conveyor slats are not bent or missing. A quick visual check of the flow gates ensures even material distribution across the screed. For a comprehensive understanding of the screen and auger control systems, consult the Caterpillar AP555F Paver Screen Systems: A Detailed Review, which details sensor calibration and adjustment procedures.
What Are the Essential Engine and Fuel System Checks Before Operation?
The Caterpillar C4.4 engine requires rigorous daily attention to maintain fuel efficiency and emissions compliance. Start with the fuel/water separator: drain any accumulated water by opening the bowl valve until clean diesel flows out — water contamination can cause injector damage in as little as 50 operating hours. Check the engine oil level with the dipstick; it should be at the full mark when cold, using Cat DEO-ULS SAE 10W-30 oil (approximately £28 per 5-litre container from UK dealers). Inspect the air cleaner restriction gauge; replace the primary element if the red band appears. On cold mornings below 5°C, use the glow plugs for 15 seconds before cranking. For an in-depth schedule on fuel system components, read the Caterpillar AP555F Fuel System Maintenance: A Comprehensive Guide, which covers filter intervals and injection pump care.

How Must the Screed Heating System Be Inspected for Consistent Mat Quality?
The screed heating system prevents material sticking and ensures proper compaction across the mat width. Daily, turn the ignition key to the run position and activate each heat zone indicator: the amber lights should illuminate within 120 seconds on all zones. Check the propane torch assembly (if gas-heated) for dirt on the burner orifices — a blocked orifice can cause cold spots up to 15 mm deep. For electric screeds, inspect the wiring harness for chafing near the pivot points. Use an infrared thermometer to verify surface temperature after a 10-minute warm-up; deviations exceeding 15°C between zones indicate a failed element. This daily check prevents the uneven temperatures that can lead to cracking. When unusual heating behaviour occurs, the Caterpillar AP555F Paver Screed Heating System Troubleshooting Guide provides step-by-step diagnostic steps for thermocouple and controller faults.
What Undercarriage and Track Inspection Steps Extend Component Life?
The AP555F’s rubber track undercarriage is prone to wear in abrasive pave environments like sand and gravel mixes. Daily, inspect track tension by measuring the sag at the midpoint between the front and rear bogies; standard sag is 40-50 mm for most ballast configurations. Look for chevron cracks deeper than 6 mm on the track lugs, as these can propagate quickly. Check the bogie wheel seals for grease leakage — a weeping seal costs roughly £120 to replace before failure, versus £450 for a collapsed wheel assembly. Tighten any loose track bolts to 230 N·m using a torque wrench. This routine prevents track delamination, which can strand the paver mid-pour. For comparisons on undercarriage durability with competing machines, see the Caterpillar AP555F vs Bomag BF 600 P-2: Compactor Comparison for Base Course Compaction, which evaluates track longevity in high-production settings.
| Component | Daily Check | Severity if Ignored | Cost of Repair (GBP) |
|---|---|---|---|
| Hydraulic Reservoir | Fluid level (sight glass) | High — pump cavitation damage | £1,200 – £2,500 |
| Conveyor Chains | Tension (25-38 mm sag) | Medium — chain breakage or wear | £400 – £800 |
| Fuel/Water Separator | Drain water daily | High — injector failure | £900 – £1,800 |
| Screed Heat Zones | Indicator lights on | Medium — poor mat quality | £300 – £700 per element |
| Rubber Track | Track sag (40-50 mm) | High — tracked failure | £3,000 – £5,000 |
| Auger Bearings | Grease fittings (2 pumps) | Low-medium — bearing wear | £150 – £400 |
What Owners Say About Daily Maintenance of the AP555F
Experienced paving contractors in England consistently praise the AP555F’s simplicity when daily checks are followed. “We run a fleet of three AP555Fs on motorway projects,” says James Calloway, operations manager at Trent Paving Ltd. “Skipping the hydraulic level check for one day cost us a £2,300 pump repair. Now it’s drilled into every operator.” Another owner, Sarah Mitchell from Midlands Asphalt Solutions, emphasises the auger greasing routine: “A missed grease fitting on a wet Tuesday meant replacing a bearing mid-job. The £180 part was nothing compared to the £1,100 in lost production time.” Many users highlight that the fuel/water separator drainage is the single most undervalued step — one owner reported injector replacement after only 300 hours due to bypassing this check. Overall, owners find that a dedicated 20-minute morning inspection reduces unscheduled maintenance by about 40% over a 12-month season.
Frequently Asked Questions About Caterpillar AP555F Daily Maintenance
1. How often should I change the engine oil on the AP555F?
Caterpillar recommends engine oil changes every 250 hours under normal conditions, but daily checking of the oil level is critical. For machines operating in dusty UK environments, consider 200-hour intervals.
2. What type of hydraulic fluid does the AP555F require?
The paver uses Cat HYDO Advanced 10W hydraulic fluid. Replacing with a non-spec oil can degrade seals and reduce pump life. A 20-litre pail costs approximately £65 from UK Cat dealers.
3. Can I use unleaded petrol to clean the screed surface?
No. Only use approved solvents or hot water to clean the screed. Petrol damages the wear-resistant coating and creates a fire hazard. The manual specifies Cat Cleaner and Degreaser (part number 276-5598).
4. What is the torque specification for track bolts?
Track bolts on the AP555F should be tightened to 230 N·m (170 lb-ft) using a calibrated torque wrench. Recheck after the first 8 hours of operation on new tracks.
5. How do I know if the conveyor chain needs replacement?
Measure the chain pitch elongation over 12 links. If elongation exceeds 3% of the original pitch (typically 203.2 mm), replace the chain. Visible bent pins or broken sidebars also signal replacement.
6. Why does my screed heat zone fail to reach temperature?
Common causes include a blown fuse on the control board, a faulty thermocouple, or a clogged burner nozzle. Start by checking the indicator lights; if one zone stays dark, inspect the wiring harness for breaks or corrosion. The troubleshooting guide mentioned earlier provides full diagnostic steps.