
Introduction
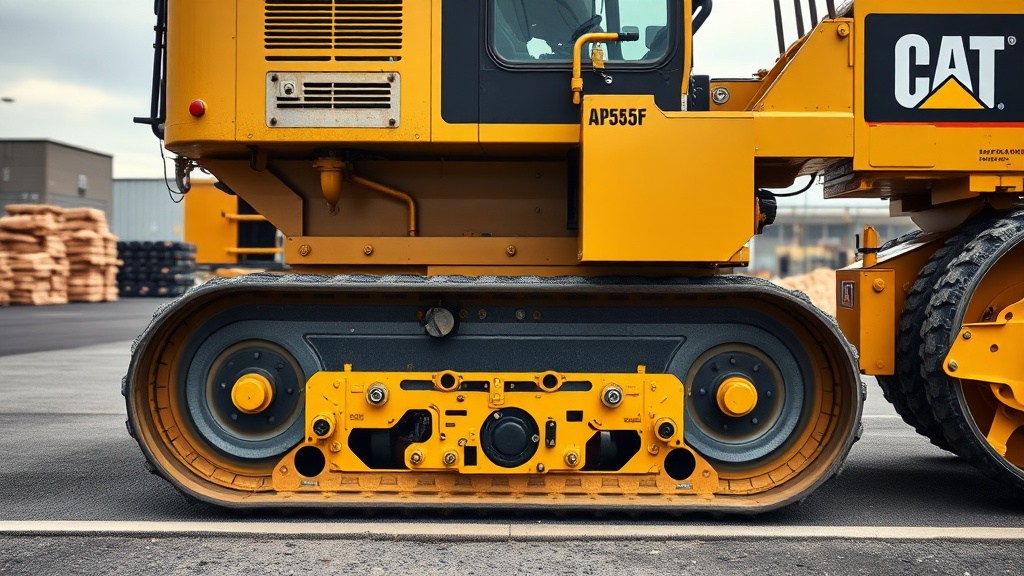
Maintaining the screed plate on a Caterpillar AP555F paver is a routine but critical task for achieving a consistent mat and preventing costly downtime. Worn or damaged screed plates lead to poor pavement quality, streaking, and uneven density, often requiring premature resurfacing. This guide outlines a precise replacement procedure to keep your AP555F operating at peak performance, saving both time and material costs.
Before starting any work, ensure the paver is parked on level ground, the engine is off, and the screed is fully lowered and supported with safety stands. Always refer to your machine’s operation and maintenance manual for torque values specific to your serial number prefix.
When Should You Replace the Screed Plates on a Caterpillar AP555F?
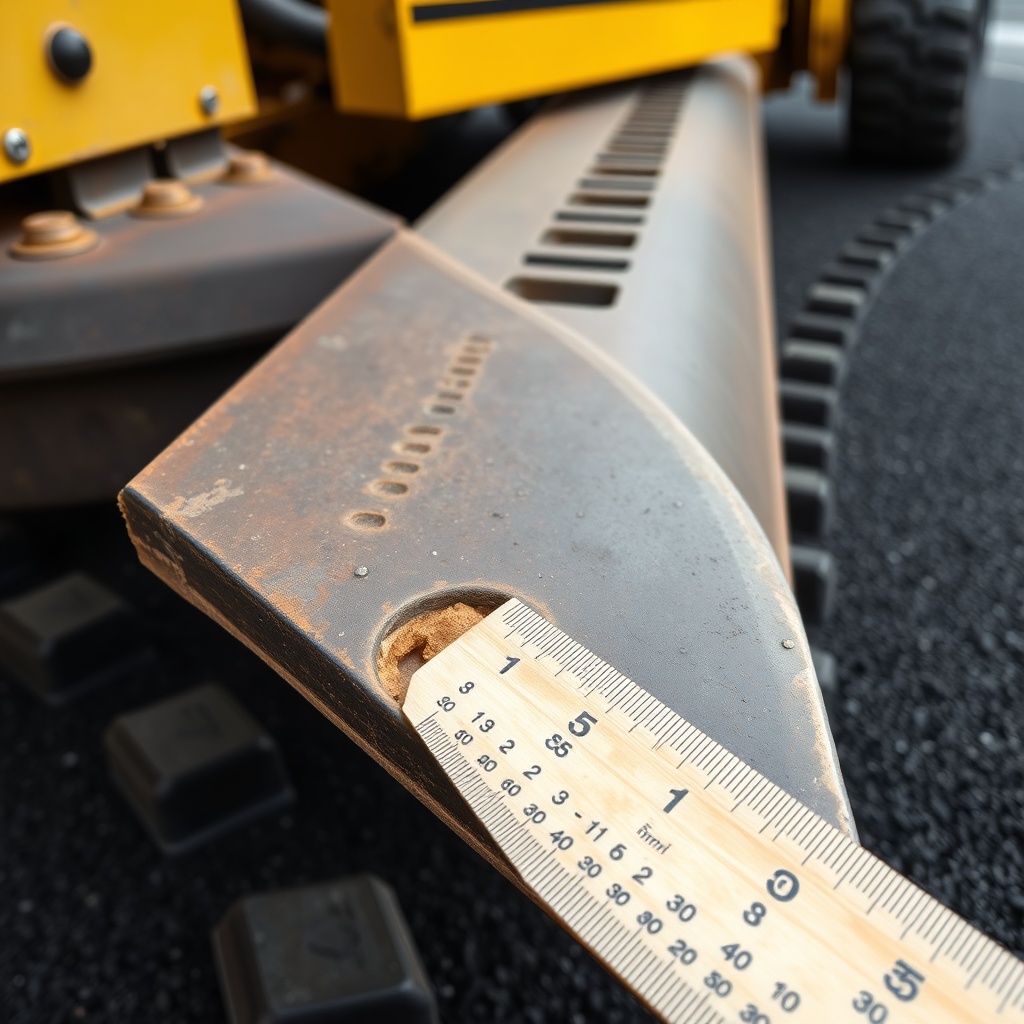
Screed plate wear is inevitable, but the replacement interval depends on material abrasiveness, tonnage placed, and operator technique. On average, operators replace the plates every 35,000–55,000 tons for highway-grade asphalt, while high-abrasion mixes (e.g., stone-mastic asphalt) may require replacement at 20,000–30,000 tons. Visual inspection is the most reliable trigger. You need new plates when the leading edge shows a visible wear lip exceeding 3 mm (⅛ in), when grooves or scratches appear across the plate surface, or when the plate thickness measures below 10 mm (0.4 in) at any point. Additionally, if the mat shows consistent streaking or tearing despite correct screed setup, worn plates are often the culprit. For a deeper look at overall screed system condition, see our Caterpillar AP555F Paver Screed Heating System Troubleshooting Guide.
What Tools and Parts Are Required for the Screed Plate Replacement?
A thorough replacement job demands specific tools and genuine or equivalent aftermarket parts. Using the wrong fasteners or torque can lead to plate distortion or shedding. Gather the following before beginning.
- Replacement screed plates: Order the correct part number for your AP555F screed width (typically 8 ft or 10 ft basic screed). Genuine Caterpillar plates cost approximately £850–£1,200 per set (including bolts, washers, and wear strips). Aftermarket plates range from £550–£850 but verify hardness (typically 400–450 BHN).
- Bolts and washers: Grade 8 (10.9 metric) bolts, flat washers, and lock washers. A replacement bolt kit costs around £45–£65.
- Thread locker: Medium-strength (blue) thread locker for bolt threads, about £8.
- Tools: ½-inch drive torque wrench (capable of 100–150 Nm), 17 mm and 19 mm sockets, breaker bar, wire brush, compressed air gun, scraper, and a rubber mallet.
- Lifting equipment: Engine hoist or gantry for heavier plates (plates weigh 30–45 kg each).
Ensure the replacement plates are identical in thickness and curvature to the originals. Mismatched plates cause uneven loading and rapid wear.
| Item | Specification | Typical Cost (GBP) |
|---|---|---|
| Genuine Caterpillar Plate Set (10 ft) | 400 BHN, 12 mm thickness, pre-drilled | £1,150 |
| Aftermarket Plate Set (10 ft) | 380–420 BHN, 12 mm thickness | £695 |
| Bolt Kit (Grade 10.9) | M12 x 40 mm, lock washers included | £55 |
| Medium thread locker (50 ml) | Removable with hand tools | £9 |
| Torque wrench (½” drive) | 40–200 Nm range, ±3% accuracy | £120 |
| Engine hoist (2 ton) | Hydraulic, for plate lifting | £180–£250 |
How Do You Safely Remove the Old Screed Plates?
Removal is straightforward but requires caution to prevent damage to the screed mounting frame. Follow these steps for a clean disassembly.
- Clean the area: Use a wire brush and compressed air to remove asphalt residue, dust, and debris from the plate bolts and around the screed frame. Pay special attention to the bolt heads—caked material can strip sockets.
- Support the screed: Place safety stands under the screed frame to prevent movement. Never rely on hydraulics alone.
- Loosen bolts progressively: Starting from the centre and working outward, use a breaker bar to break each bolt loose. Do not remove any bolt completely until all are loosened. This prevents the plate from sagging unevenly.
- Remove bolts and lift plate: After all bolts are loose, remove them completely. Use the engine hoist to lift the plate (if heavy) or carefully slide it off the screed frame. Store the removed plate on a level surface to avoid bending.
- Inspect mounting surface: Check the screed frame for cracks, warping, or rust. Clean the surface thoroughly with a scraper and solvent. Any high spots will cause the new plate to seat incorrectly.
If the old plate exhibits uneven wear, investigate the screed heating system for hot spots or cold zones, as detailed in our Caterpillar AP555F Paver Screed Heating System Troubleshooting Guide.
How Do You Install the New Screed Plates Correctly?
Installation demands precision to ensure even distribution of load and consistent mat quality. Incorrect torque or alignment leads to fastener failure and plate movement.
- Position the new plate: Place the plate onto the screed frame aligning the bolt holes. Use the hoist or an assistant to avoid pinching fingers. The leading edge of the plate should overhang the screed by exactly 3–5 mm (as per factory spec)—check with a feeler gauge.
- Apply thread locker: Put a drop of medium thread locker onto each bolt thread. This prevents loosening under vibration.
- Hand-tighten all bolts: Install bolts with flat washers and lock washers. Tighten each bolt by hand until snug, then go around again with a socket.
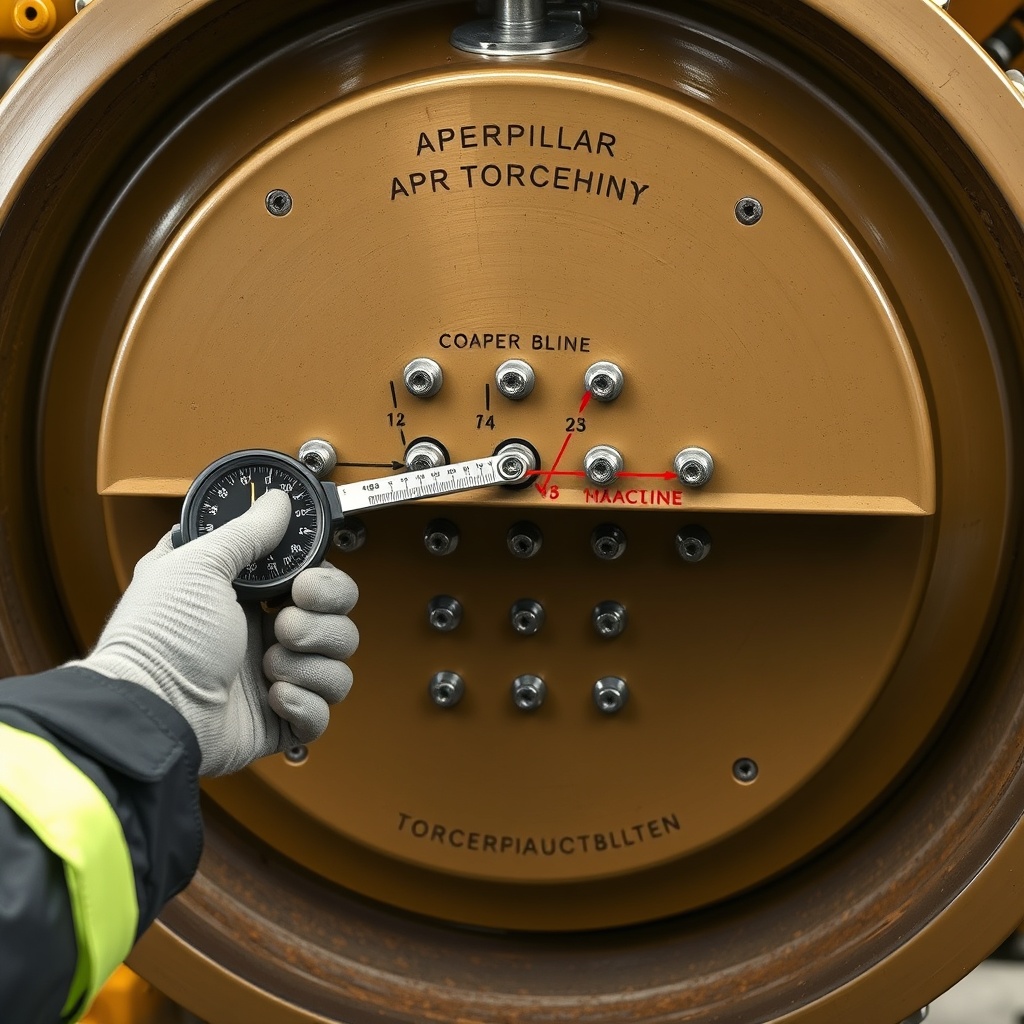
- Torque in sequence: Using the torque wrench, tighten bolts in a cross‑pattern (centre first, then alternating outward) to a final torque of 120 Nm (approx. 88 ft‑lb). Repeat the pattern twice to ensure all fasteners reach specification.
- Check bolt protrusion: After torquing, verify that no bolt protrudes more than 2–3 mm below the plate surface. File down any bolts that exceed this limit to avoid marking the mat.
- Install wear strips (if applicable): Some screed plates include replaceable wear strips at the trailing edge. Secure them with the provided fasteners, torque to 70 Nm.
After installation, manually rotate the screed and check that the plate does not contact any frame components. For proper function with the screed system, refer to our Caterpillar AP555F Paver Screen Systems: A Detailed Review for setup instructions.
How Do You Test the New Screed Plates Before Production?
A trial run prevents costly rework after the paver is fully assembled. Perform these checks on a small test strip of asphalt before starting the main job.
- Warm‑up the screed: Run the screed heating system for at least 15 minutes to ensure even temperature across the plate. Monitor temperature with a contact pyrometer—target 120–150 °C.
- Initial paver pass: Lay a short run of asphalt (10–15 m) at normal paving speed (2–4 m/min). Observe the mat for streaking, tearing, or density variations.
- Visual inspection: After the mat has cooled slightly, walk the area and look for any marks or raised lines that match the bolt locations. If you see any, stop immediately and check bolt projection.
- Thickness check: Use a depth gauge to measure mat thickness at several transverse points. A new plate should produce a consistent thickness within ±1 mm across the width.
- Final torque check: After the test run, allow the plate to cool, then re‑torque all bolts to 120 Nm (the gasket‑like effect of the asphalt can loosen bolts slightly).
If the mat shows poor texture or density, consider the interaction between the screed plate and the compactor. Our Caterpillar AP555F vs Bomag BF 600 P-2: Compactor Comparison for Base Course Compaction provides insight into achieving desired compaction.
What Owners Say
Experienced owners and operators have shared practical insights on the replacement procedure. Many highlight the importance of using genuine Caterpillar bolts to avoid thread stripping. One UK‐based contractor noted: “Aftermarket plates saved me £300 per set, but the bolt kits are cheaper than genuine. However, I always use factory bolts because the head profile seats better in the countersink. I torque at 120 Nm and never had a bolt loosen in 8,000 tons.” Another operator from Scotland mentioned: “We change plates even sooner than the manual recommends because the local granite aggregate chews them up. We replace at first sign of a wear lip, about every 18,000 tons. The cost is around £900 for a set including labour. It’s cheap insurance against a bad mat that gets rejected by the client.” A fleet manager in the Midlands adds: “We pre‑drill the new plates with a 0.5 mm larger hole to allow for thermal expansion. It’s not factory spec, but it eliminates bolt binding after the first hot run. We also keep a set of spare bolts on the paver because we’ve lost one mid‑shift.” For daily checks that extend plate life, refer to our Caterpillar AP555F Daily Maintenance Checklist for Peak Performance.
Frequently Asked Questions
Q1: Can I reuse old bolts when replacing screed plates?
A: No, you should always use new bolts. Used bolts may have stretched or work‑hardened, reducing their clamping force. New grade 10.9 bolts cost about £55 per set and are essential for reliable torque retention.
Q2: How often should I check the torque on screed plate bolts?
A: After initial replacement, re‑torque after the first 8 operating hours. Thereafter, check torque every 500 hours or after 2,000 tons of production. Also inspect after a period of heavy rain or if the paver has been idle for more than a month.
Q3: What causes uneven wear on screed plates?
A: Uneven wear typically results from incorrect screed angle (too much attack angle), worn screed shoes, or inconsistent material feed across the augers. Also check the hydraulic system for smooth operation—see our Caterpillar AP555F Hydraulic System Maintenance: Essential Tips for diagnosing hydraulic issues that affect plate load.
Q4: Do I need to adjust the screed angle after installing new plates?
A: Yes, always recalibrate the screed angle after plate replacement. New plates have a different thickness and curvature, which changes the effective angle of attack. Follow the procedure in your AP555F manual to set the screed angle to the manufacturer’s specification for your target mat thickness.
Q5: Can aftermarket plates damage the screed frame?
A: Quality aftermarket plates with correct hardness (400–420 BHN) and bolt pattern will not damage the frame. However, poor‑quality plates with uneven thickness can cause high‑stress points and distort the frame over time. Always buy from reputable suppliers who provide a hardness certificate.
Q6: What is the typical labour time for replacing screed plates on an AP555F?
A: A trained mechanic can replace both plates in approximately 2–3 hours, including torch‑time for testing. Labour cost is typically £150–£250 at shop rates. Including parts (plate set plus bolts), total cost ranges from £800 to £1,400 per replacement, depending on the source.
For additional maintenance routines that prolong screed life, see our Caterpillar AP555F Fuel System Maintenance: A Comprehensive Guide and the Caterpillar AP555F Daily Maintenance Checklist for Peak Performance.