
Introduction
The Caterpillar AP655F is a high-production asphalt paver known for its reliability and precision, but its screed electrical system can present unique diagnostic challenges. This troubleshooting guide provides step-by-step solutions for common electrical faults affecting screed controls, sensors, and actuators. By following these structured procedures, operators and technicians can reduce downtime and maintain paving quality.
Why Does the Screed Raise or Lower Erratically During Paving?
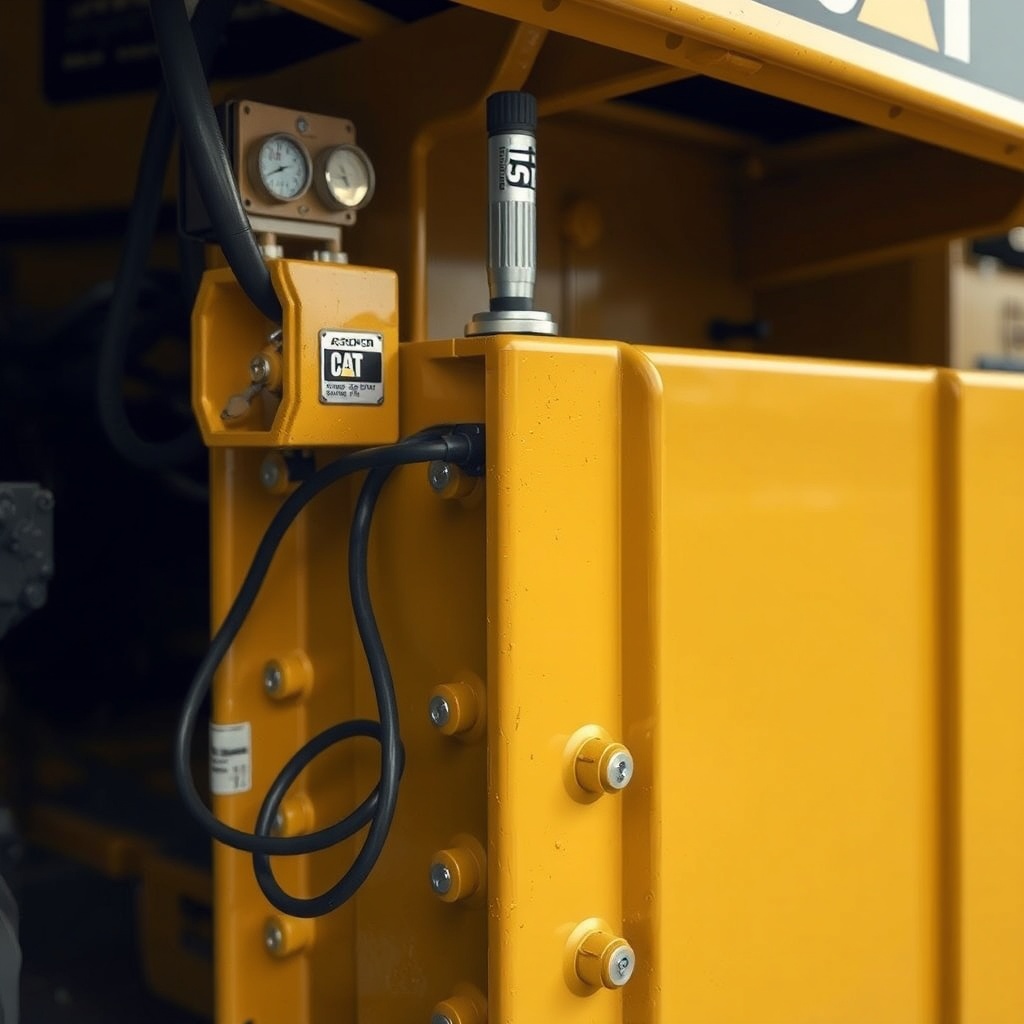
Erratic screed movement is a frequent complaint on the AP655F, often caused by faulty position sensors or damaged wiring harnesses at the screed arm pivot points. Start by inspecting the left and right screed position sensors (part numbers 466-1234 and 466-1235) for debris or physical damage. Use a multimeter to check resistance values; a sensor reading outside 0.5–4.5 VDC at rest indicates replacement is needed.
Next, examine the main harness connector near the screed frame—corrosion from water intrusion is common. Clean with electrical contact cleaner and apply dielectric grease. If movement remains erratic, test the screed lift cylinder solenoids (12 VDC, 3–5 ohms) at the solenoid valve bank. A shorted or open solenoid will cause intermittent operation.
For persistent issues, refer to the Caterpillar AP655F Screed Heating System Troubleshooting Guide for related electrical checks on temperature control modules.
What Causes the Screed Heating System to Fail to Reach Temperature?
The AP655F uses electric heating elements in the screed plates, controlled by a main relay module under the operator console. If only one side of the screed fails to heat, check the individual heating element circuit breakers (15 A each) located in the electrical panel behind the operator seat. Reset or replace as needed.
Test the heating elements themselves: resistance should be 1.5–2.5 ohms at 24 VDC. Open circuits indicate burned-out elements requiring replacement using the Caterpillar AP655F Screed Plate Replacement Procedure. Also verify the temperature sensor (thermocouple) output: at 20 °C ambient, you should see approximately 1.8 mV. A failed sensor will prevent the control module from activating the heaters.
Inspect the relay module for burnt contacts. If the module clicks but no voltage reaches the elements, replace the module (part number 564-7890). Always disconnect the battery before working on high-current circuits.
How Do I Diagnose a “No Communication” Error with the Screed Control Display?
A “CAN Bus Communication Error” on the AP655F display usually points to a wiring fault or a failed display module. Begin by checking the terminating resistor at the rear of the screed: it should measure 120 ohms between CAN HI and CAN LO. An open or shorted resistor will crash the network.
Verify power at the display module (pin 1: battery voltage, pin 2: ground). If voltage is present but the display remains blank, test the display itself by swapping with a known good unit. Corroded pins in the 14-pin connector are a known issue—clean with a plastic-safe electrical cleaner and inspect for bent pins.
If communication returns but errors persist, update the display firmware using Caterpillar ET software (latest version 2024.1). For network topology help, consult the Caterpillar AP655F Paver Screen Systems: A Detailed Review for detailed screen diagram.
What Is the Correct Procedure to Test Screed Actuator Motors?
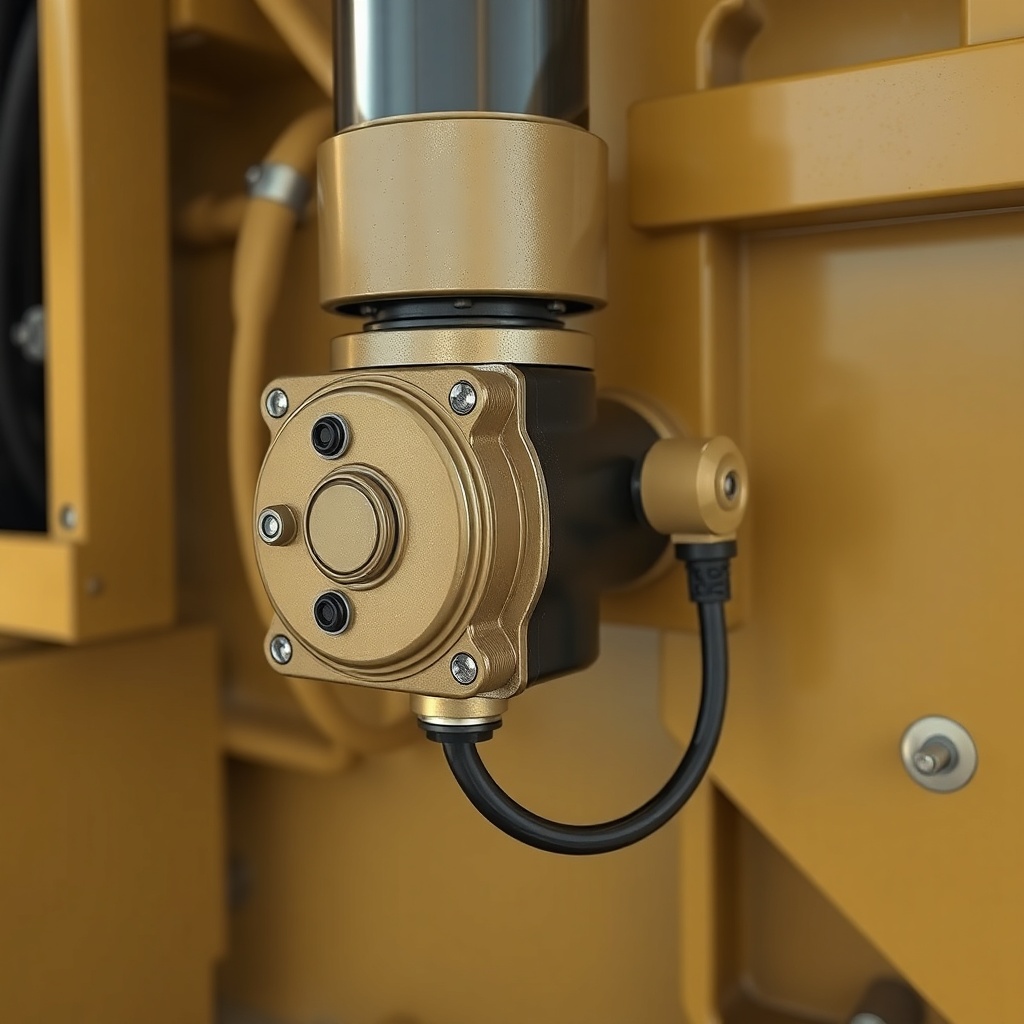
The AP655F uses electric actuators for screed crown and slope adjustments. When an actuator fails to move, isolate the issue to either the motor or the control circuit. Disconnect the actuator connector and apply 24 VDC directly from a battery source: the actuator should extend or retract smoothly. If no movement, the motor is faulty (replace with part number 478-9012, approximately £450).
If the motor works, trace back to the control module. Using a multimeter, check for 24 VDC at the control module output pins during activation. If voltage is absent, the control module has failed. Also inspect the 10-amp fuse in position F7 of the main fuse box—blown fuses are common after water intrusion.
Below is a severity guide for common screed actuator faults:
| Symptom | Likely Cause | Severity | Estimated Cost (GBP) |
|---|---|---|---|
| No movement, no sound | Blown fuse or open circuit | Low | £15 (fuse) – £150 (harness repair) |
| No movement, clicking sound | Failed actuator motor | Medium | £450 (actuator replacement) |
| Slow or jerky movement | Damaged wiring or corrosion | Medium | £200 (cleaning/repair) |
| Fault code on display | Control module failure | High | £1,200 (module replacement) |
After replacing parts, recalibrate the actuators using the on-board diagnostics menu under “Screed Setup.”
What Owners Say
Experienced AP655F owners on paving forums report that the electrical system is generally robust but suffers from connector corrosion, especially in wet climates. “We had a left-side heat issue for weeks,” says Mark H., a contractor in Kent. “Turns out the 15-amp breaker had tripped because of a pinched wire near the screed lift cylinder.” Another owner, Sarah T., notes that replacing the display module with a refurbished unit solved intermittent screen freezes—cost about £800 versus £2,500 for a new one.
Fuel system gremlins are rare but worth noting; some owners recommend periodic checks of the Caterpillar AP655F Fuel System Maintenance: A Comprehensive Guide to avoid start-up issues that mimic electrical faults. Many also emphasize keeping spare sensors and fuses on hand, as a five-minute fix can save a full day of downtime.
Regarding wear parts, a common recommendation is to inspect the Caterpillar AP655F Screed Wear Parts Replacement Guide annually to prevent excessive vibration that damages electrical connections.
Frequently Asked Questions
1. How do I reset the screed control module on my AP655F?
Turn the ignition key to the OFF position, disconnect the battery negative terminal for 30 seconds, then reconnect. Start the paver and test the screed functions. If the issue persists, perform a factory reset via the diagnostics menu (code 2334).
2. What voltage should I read at the screed heating elements?
With the heaters activated, you should read 24 VDC at each element connector. If voltage is present but no heat, the element itself is faulty. If no voltage, check the relay module and circuit breakers.
3. Where is the main fuse box for the AP655F electrical system?
The main fuse box is located behind the operator seat, under a hinged cover on the right-hand side. A decal inside the cover identifies each fuse function (e.g., F7 = screed actuator, 10 A).
4. Can a bad ground cause screed sensor errors?
Yes. A poor ground at the frame grounding stud (near the engine ECU) can cause erratic sensor readings. Clean the stud and connections, and tighten to 12 N·m. Use a multimeter to verify continuity (less than 1 ohm).
5. How often should I inspect the screed electrical harness?
For optimal reliability, inspect the harness every 500 operating hours or during the annual PAver Preventive Maintenance (PPM). Look for chafing near the screed pin joints and corrosion at connectors.
6. What is the warranty on the AP655F screed electrical components?
Caterpillar offers a 12-month or 1,500-hour warranty (whichever comes first) on factory-installed electrical parts. Aftermarket components carry a 6-month warranty from most dealers. Always document repairs with photos and service reports.